


Prerequisites to have installed on your device
- Node.js v14.17.0 or above installed (a JavaScript runtime built on Chrome's V8 JavaScript engine)
- Yarn (a package manager) installed
- Two wallets on Phantom, one for receiving funds and one for paying for goods or services. Follow the guide to set up these on Phantom, you will be using these wallets to test the app!
- Fund your wallet on the
devnetusing Sol Faucet
- Fund your wallet on the
Clone the repository by using either Git or Github CLI and the corresponding commands in your terminal:
Git ⬇️
git clone https://github.com/solana-labs/solana-pay.gitGithub CLI ⬇️
gh repo clone solana-labs/solana-pay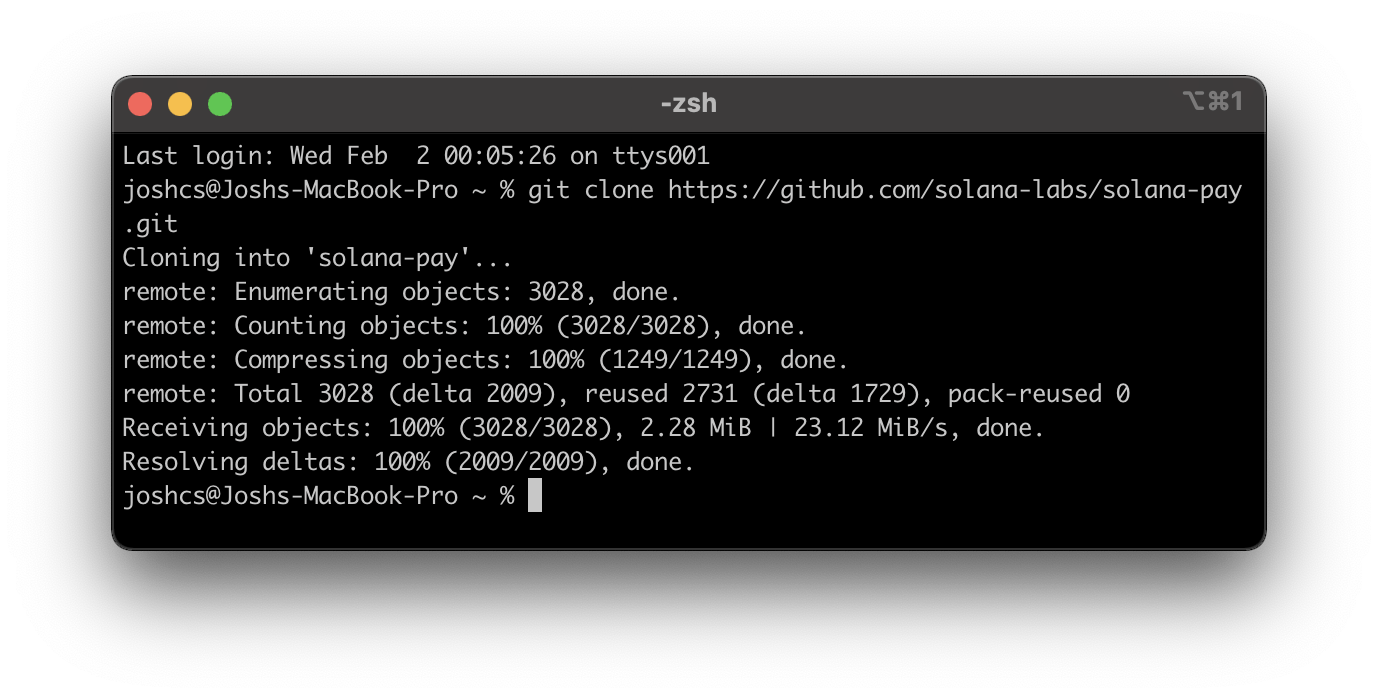
Change directories into
point-of-saleusing the following command in your terminal. You can use the terminal from step 1 in steps 2-4, I’ve just illustrated what the commands will look like in separate windows.cd solana-pay/point-of-sale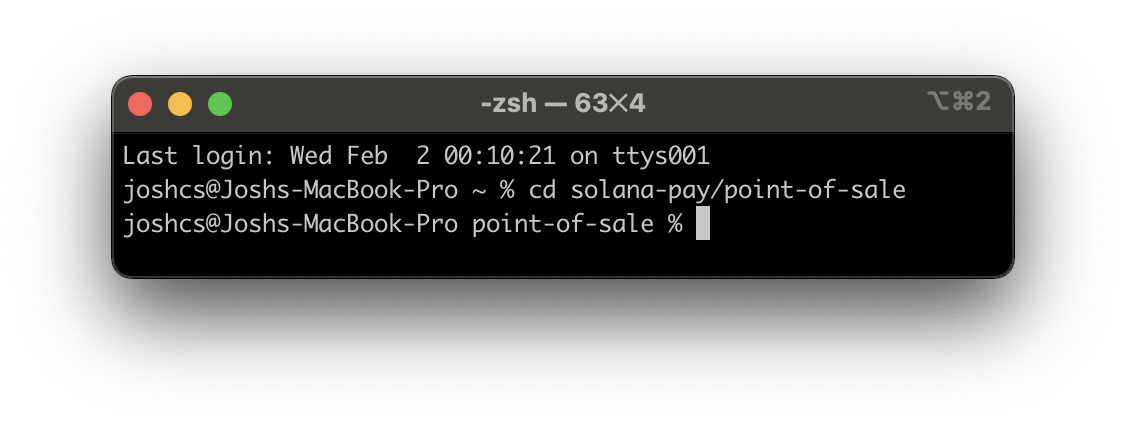
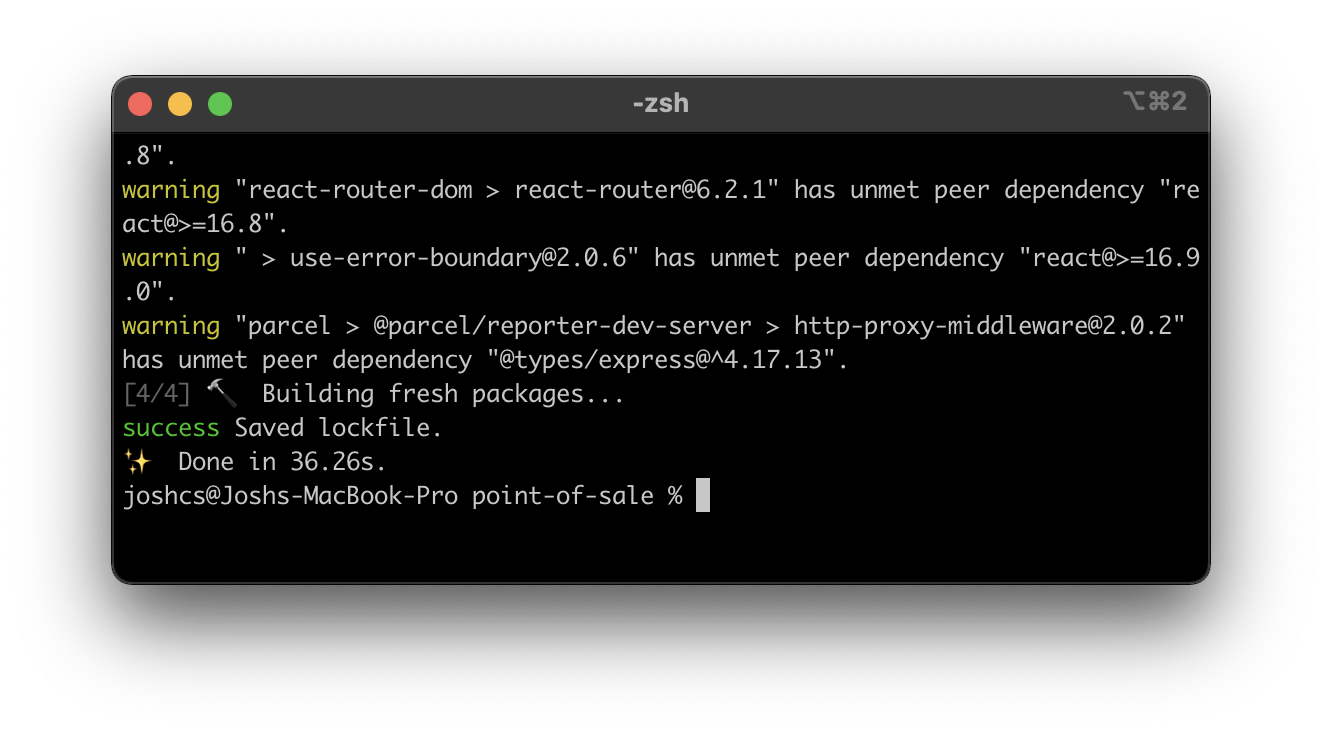
Install dependencies using Yarn
yarn install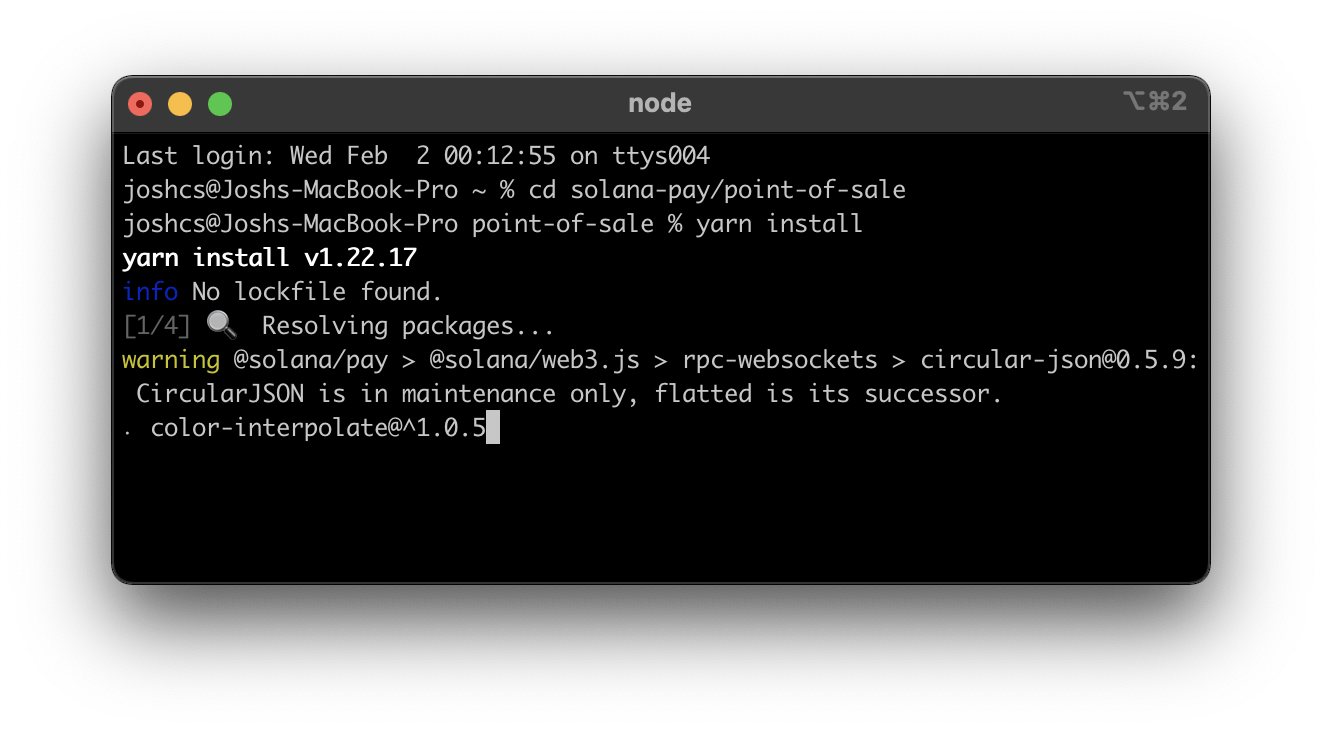
🔄 Installation in progress
✅ Installation complete
Start the local development server
yarn start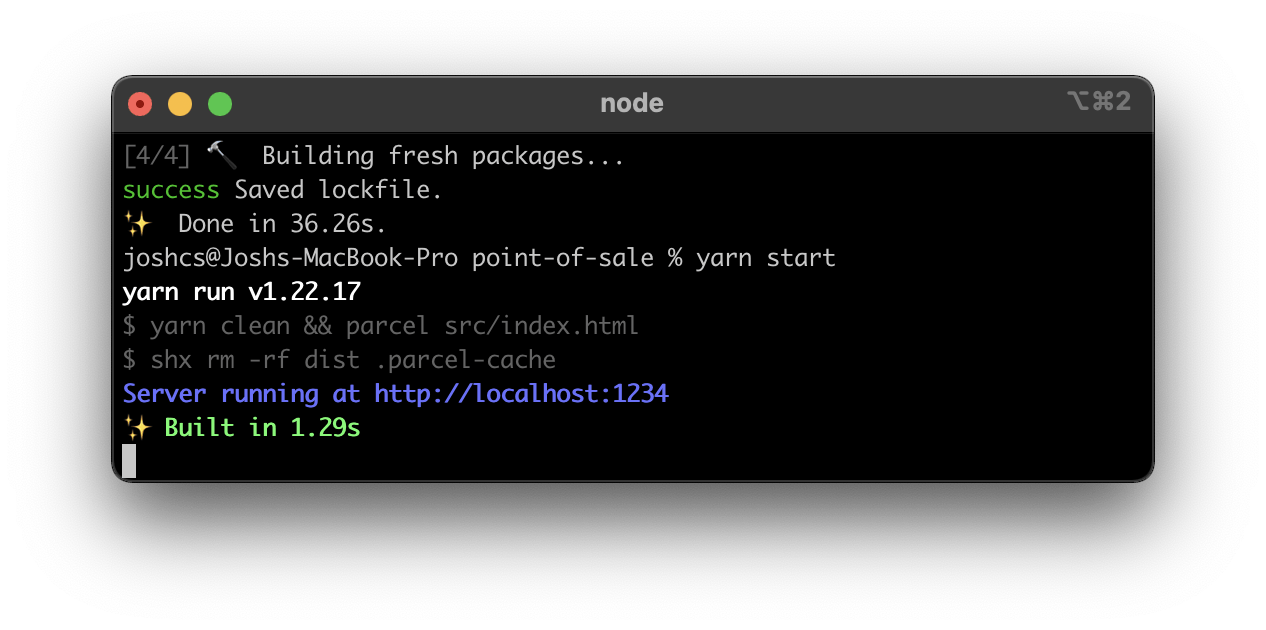
🎉 Your PoS server is running at
localhost:1234Open up the following link in your web browser. You will need to replace
MERCHANT_ADDRESSwith your receiving wallet’s address andSTORE+NAMEwith your desired store name.http://localhost:1234/new?recipient=MERCHANT_ADDRESS&label=STORE+NAME- One of the neat features of Solana Pay is that you will not need to log in with a wallet to run the PoS, so are able to use Safari (or your browser of choice without Phantom installed) to test the PoS out. For example, I’ve used an iPad and navigated to the local server on my network at:
http://10.0.0.156/new?recipient=MERCHANT_ADDRESS&label=STORE+NAME
- One of the neat features of Solana Pay is that you will not need to log in with a wallet to run the PoS, so are able to use Safari (or your browser of choice without Phantom installed) to test the PoS out. For example, I’ve used an iPad and navigated to the local server on my network at:
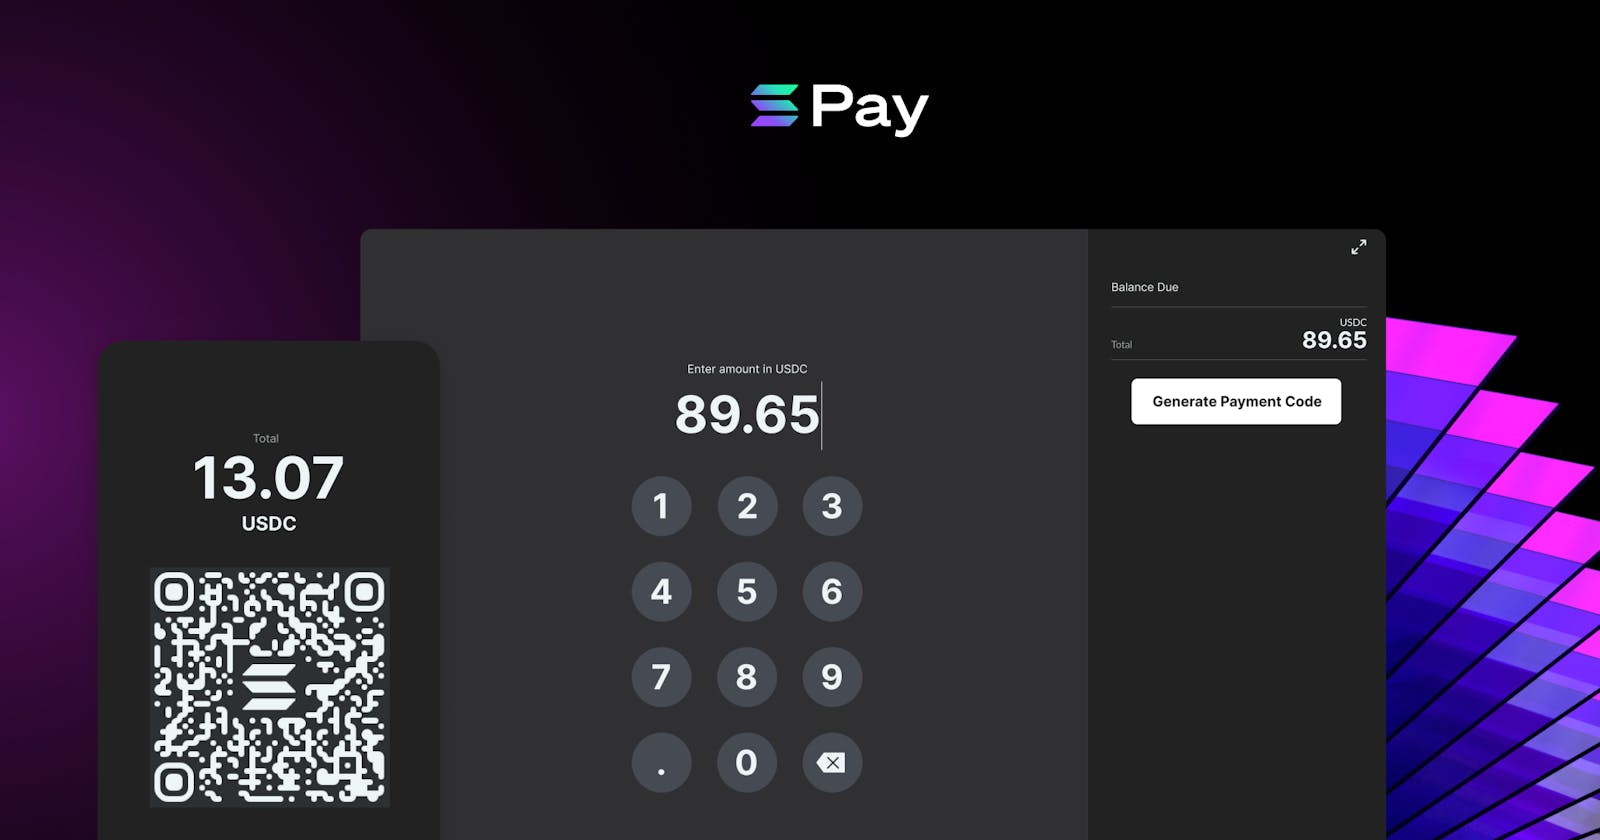
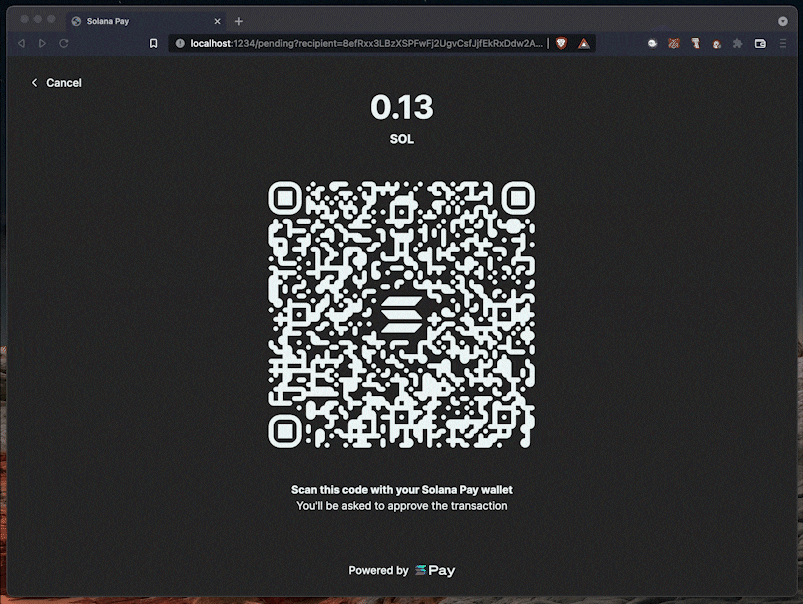
Your screen will show a Point of Sale (PoS) user interface that looks like the image below:
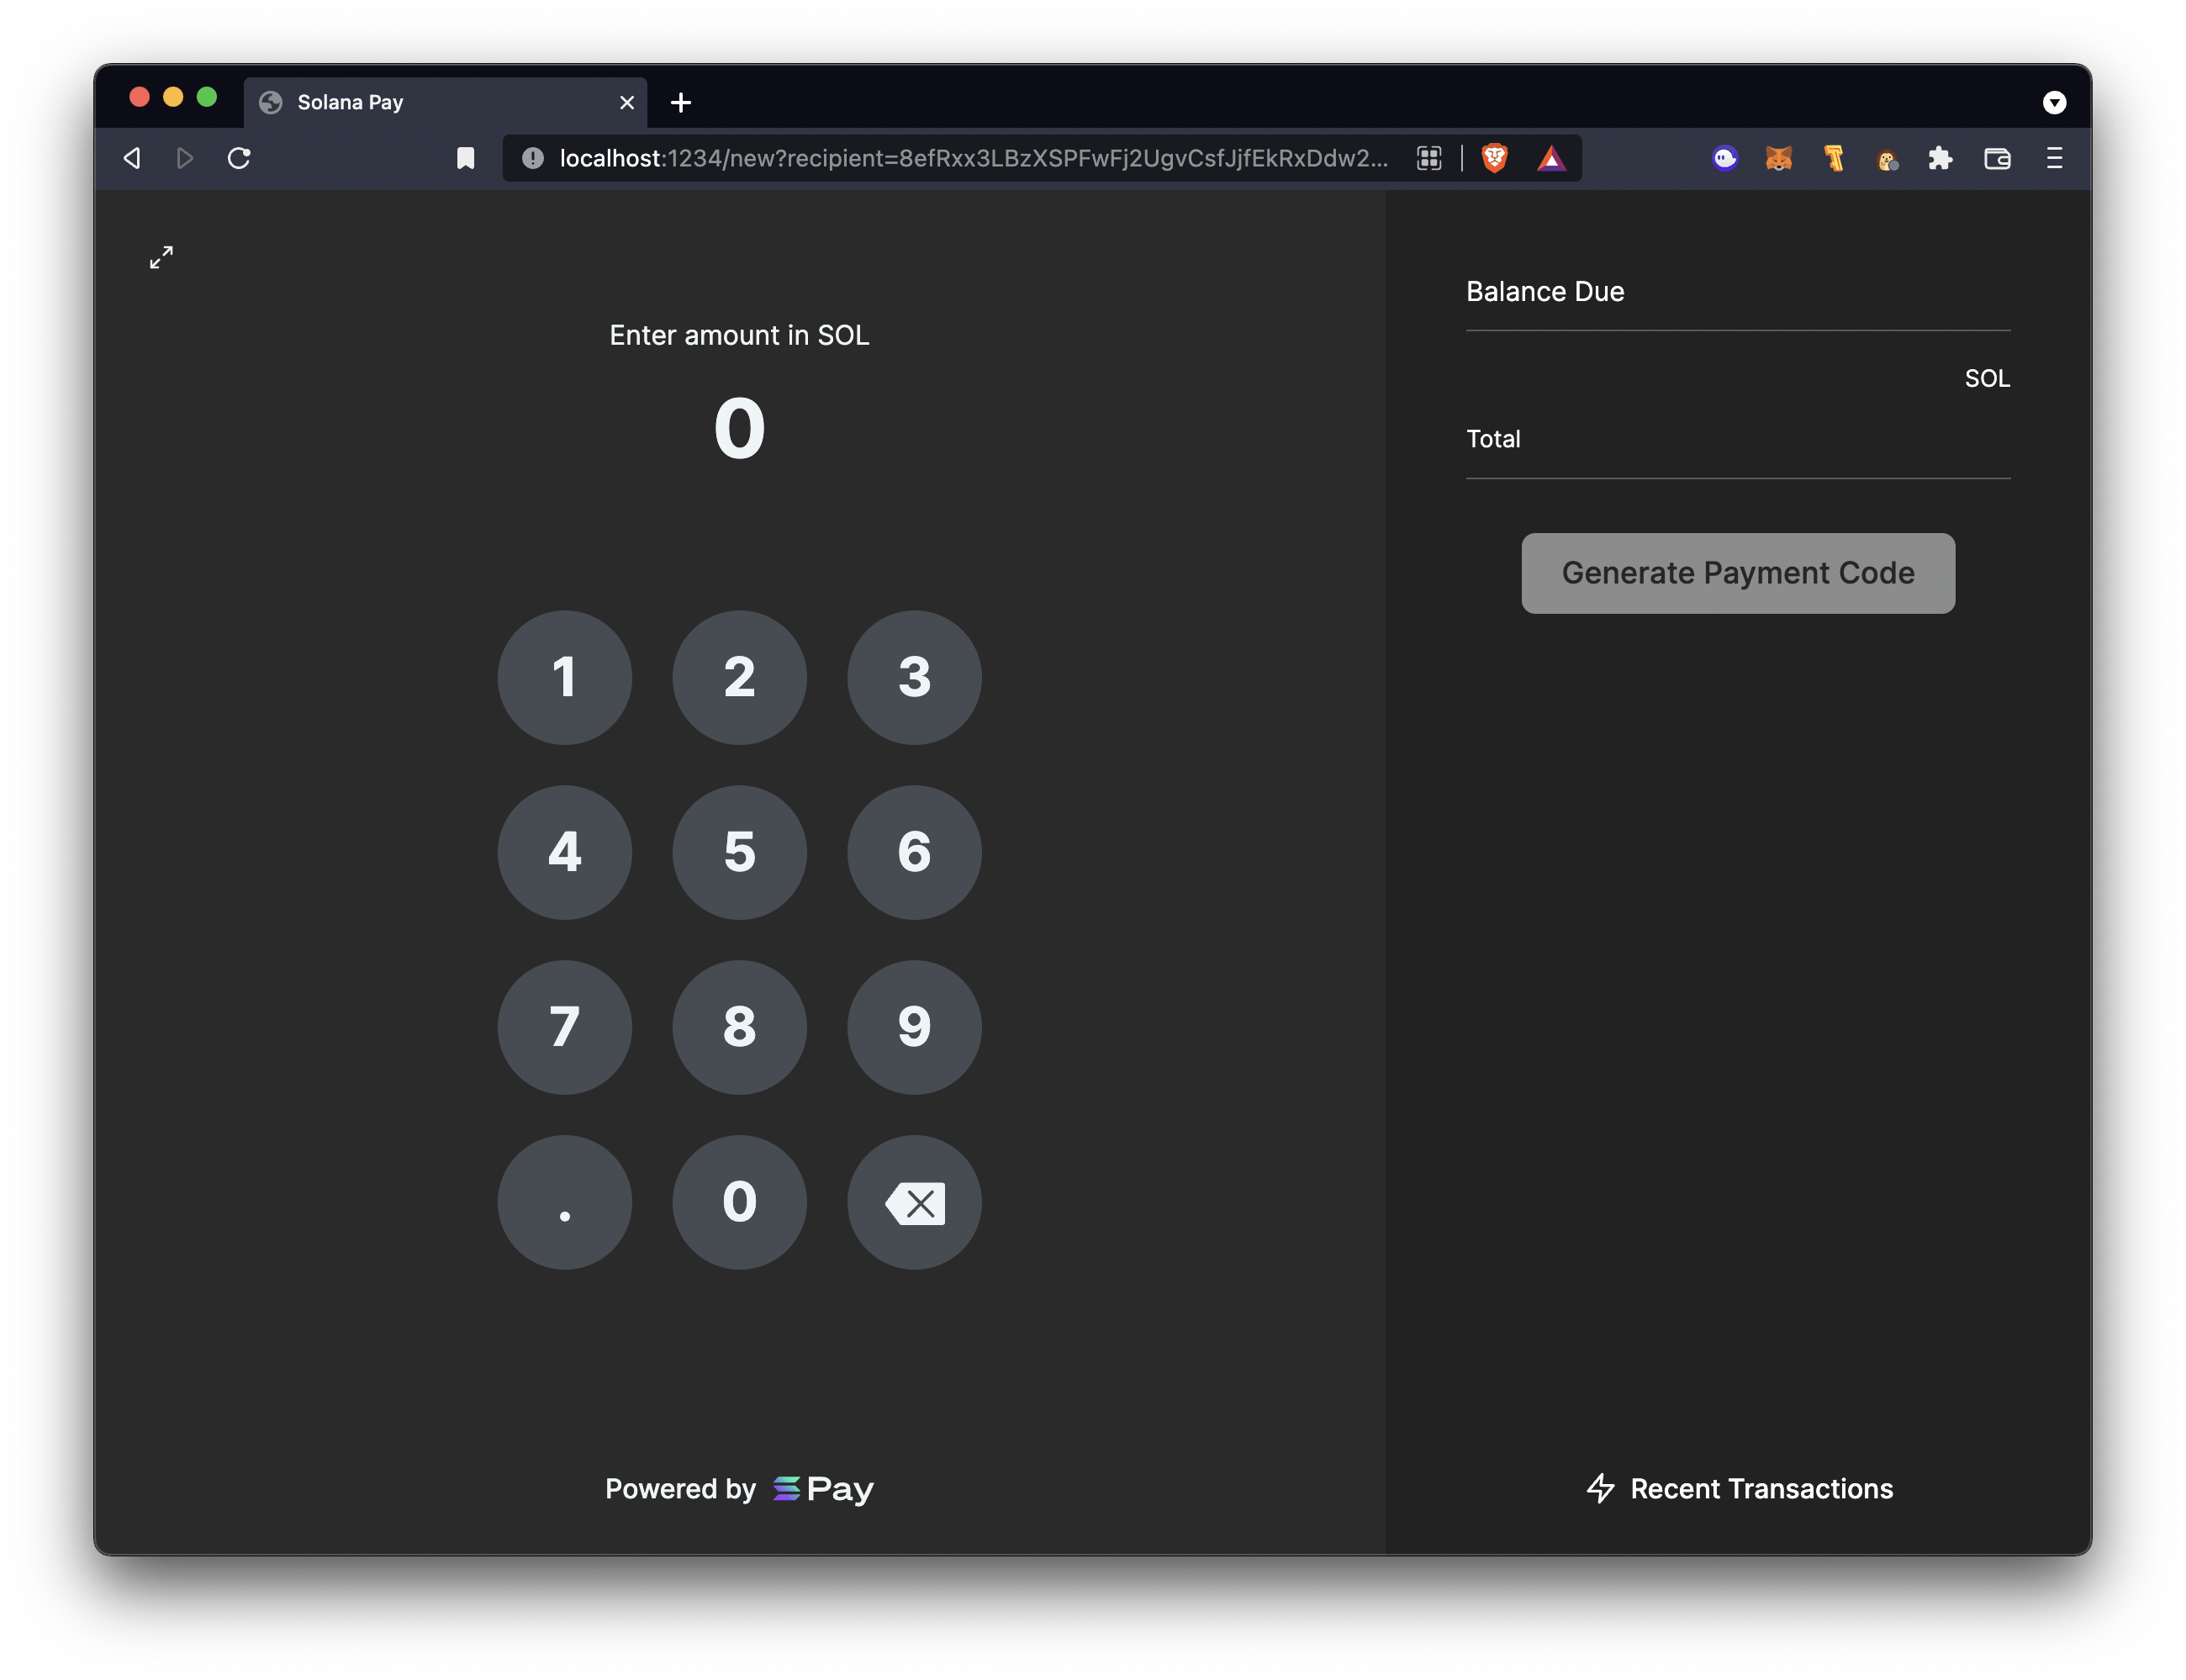
Enter an amount to charge in SOL
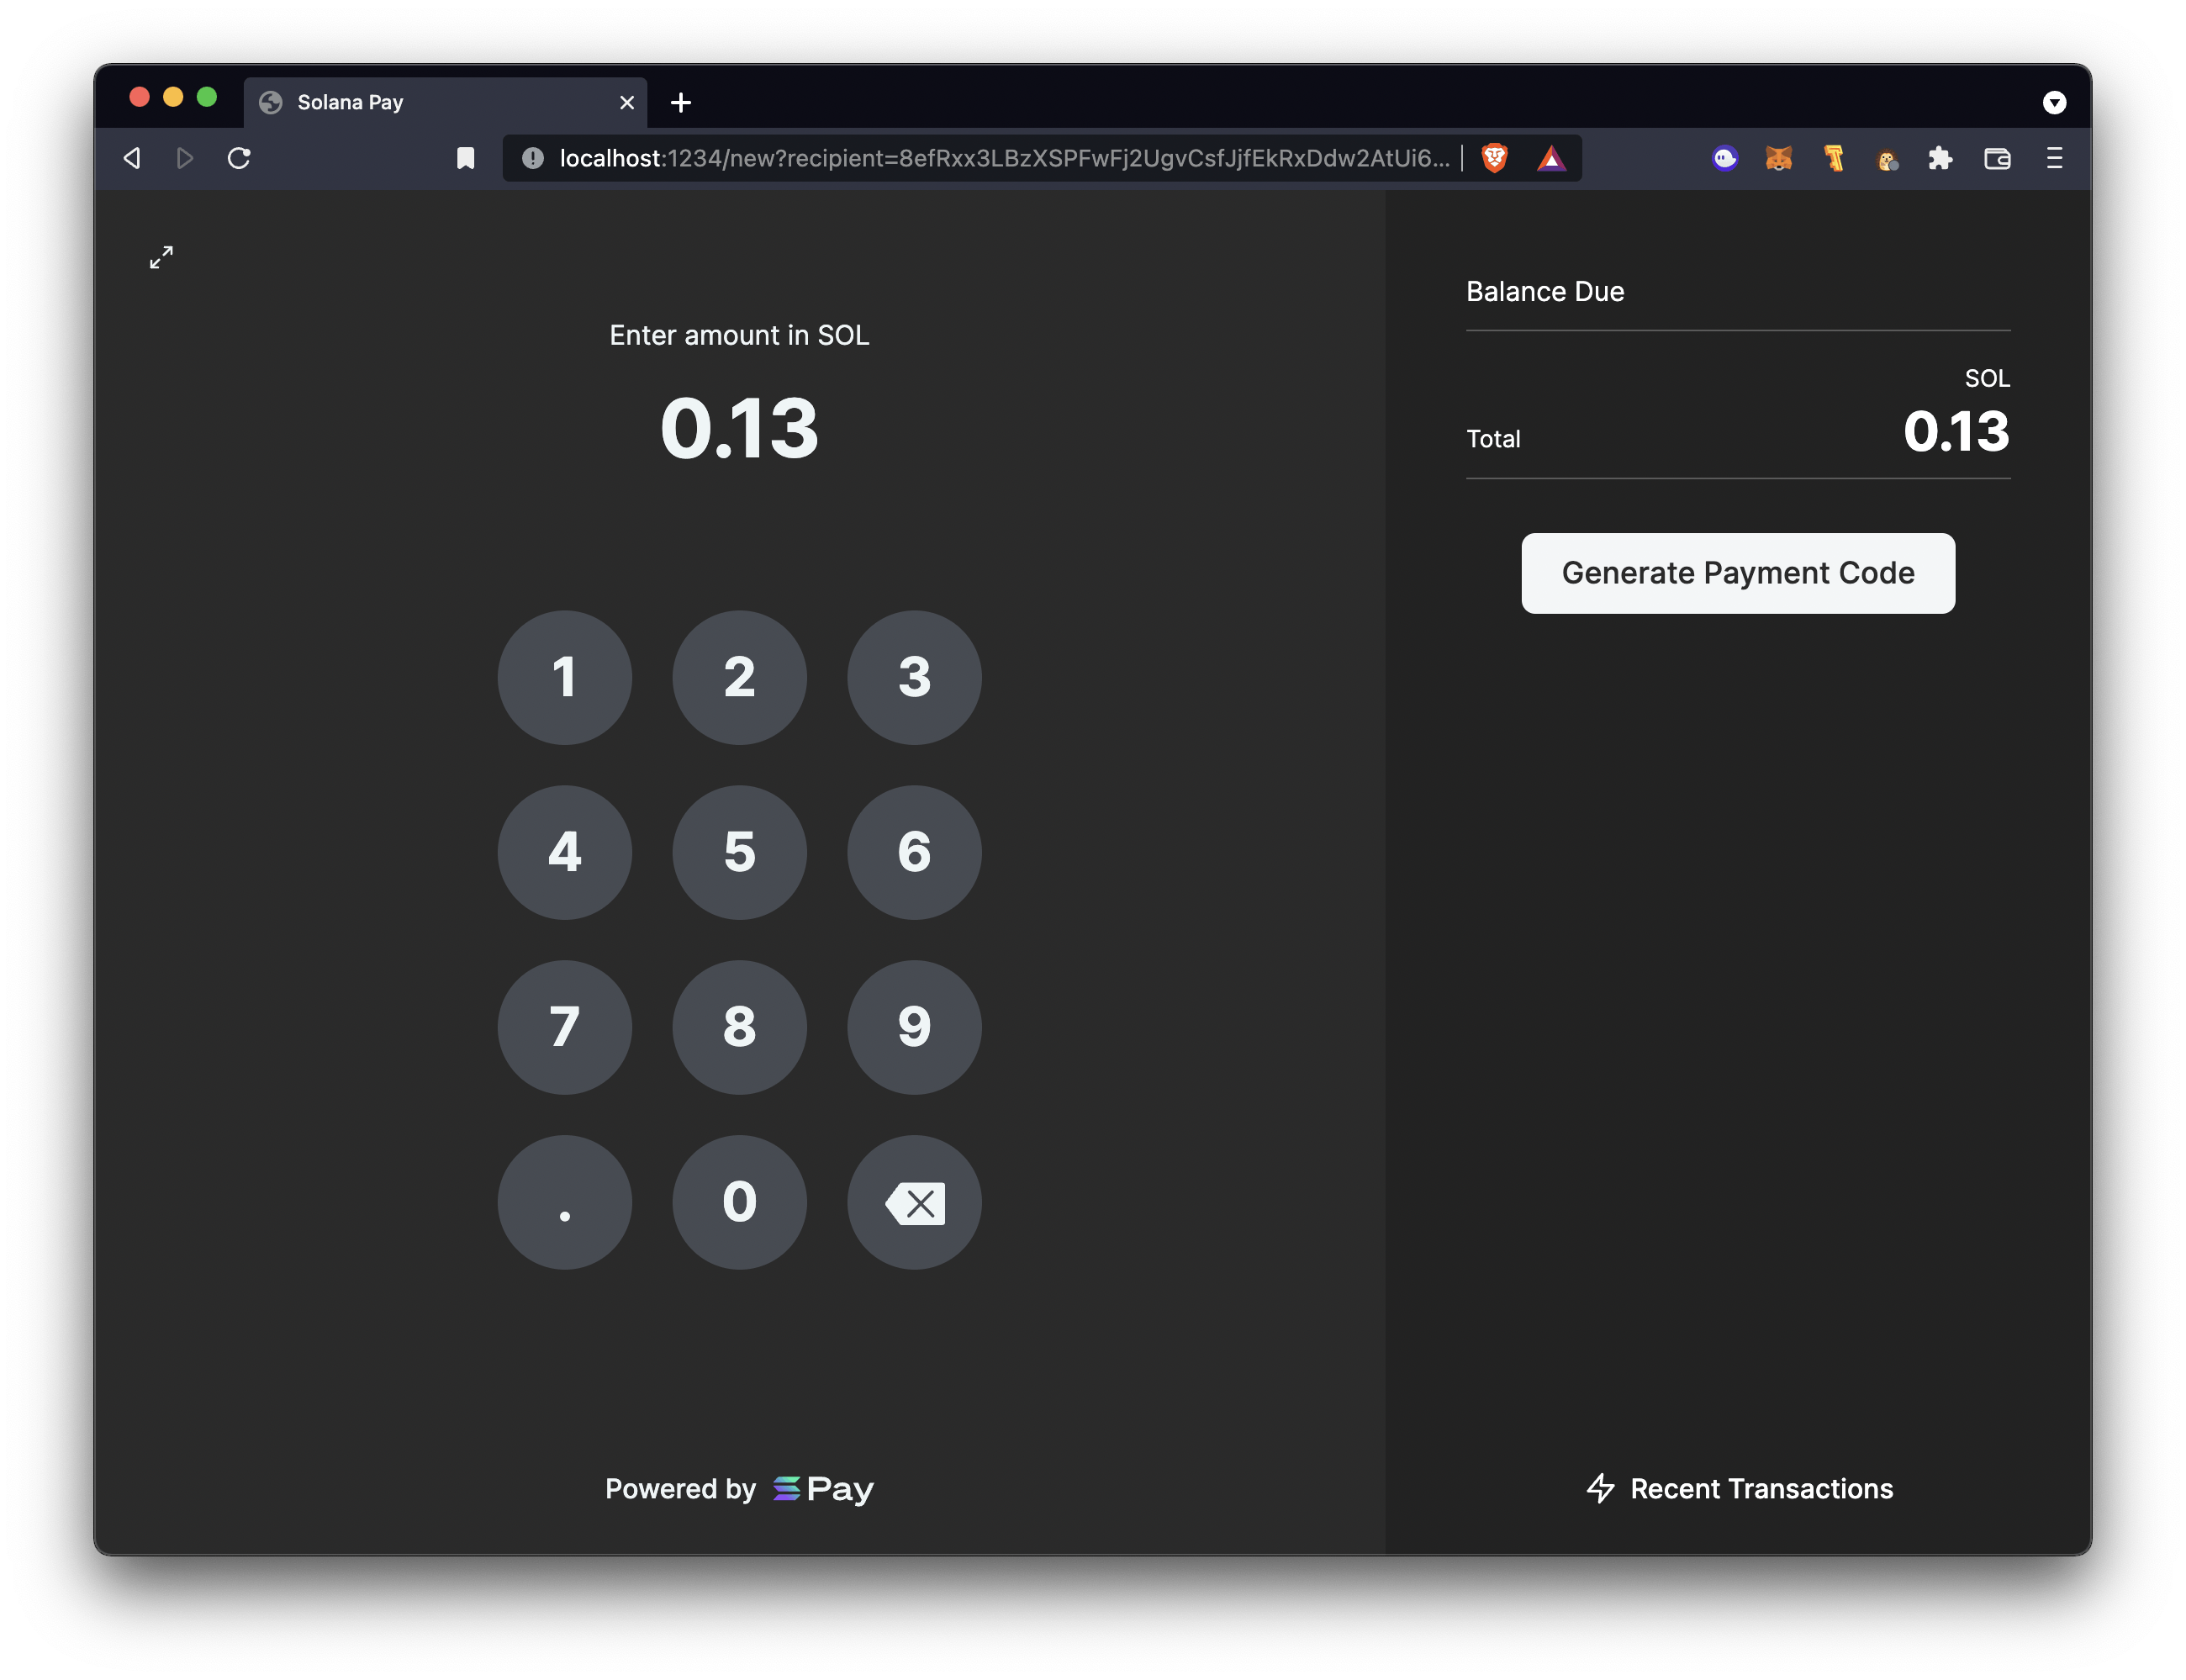
Select
Generate Payment Codeand you will be taken to a QR code that shows the amount in SOL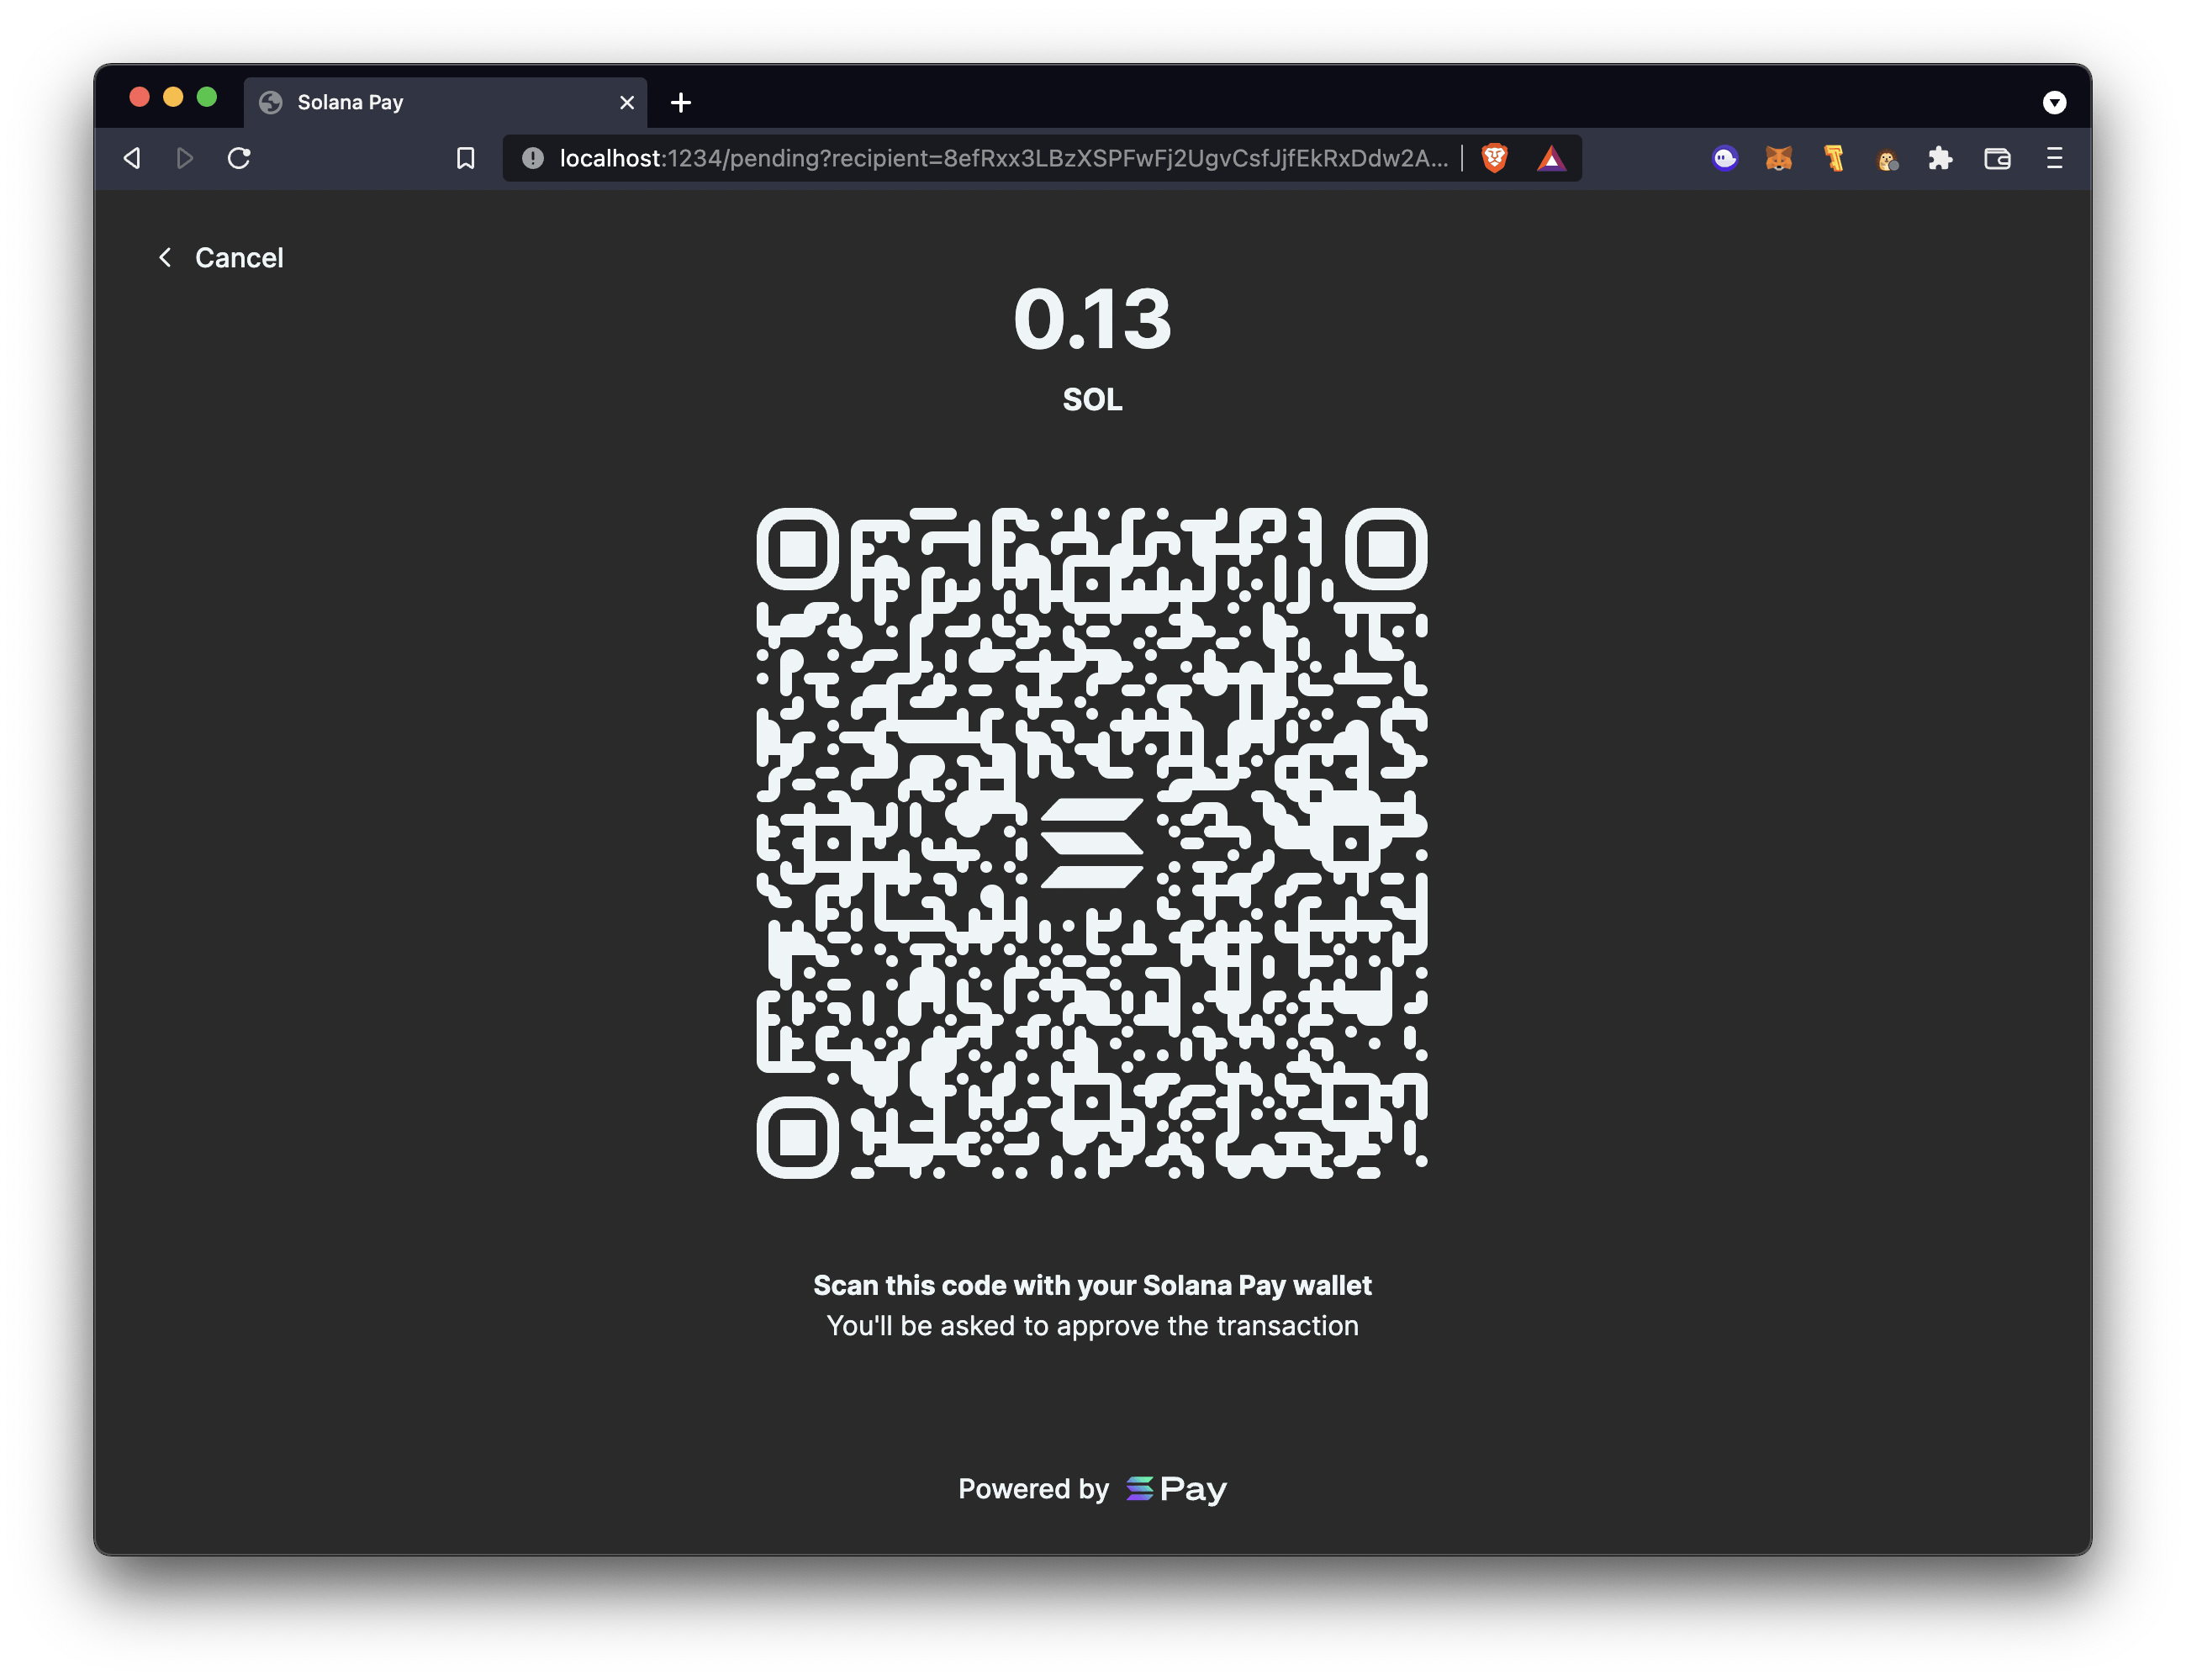
Scan the code with your compatible Solana Pay wallet
Verify the transaction in your wallet and select
Send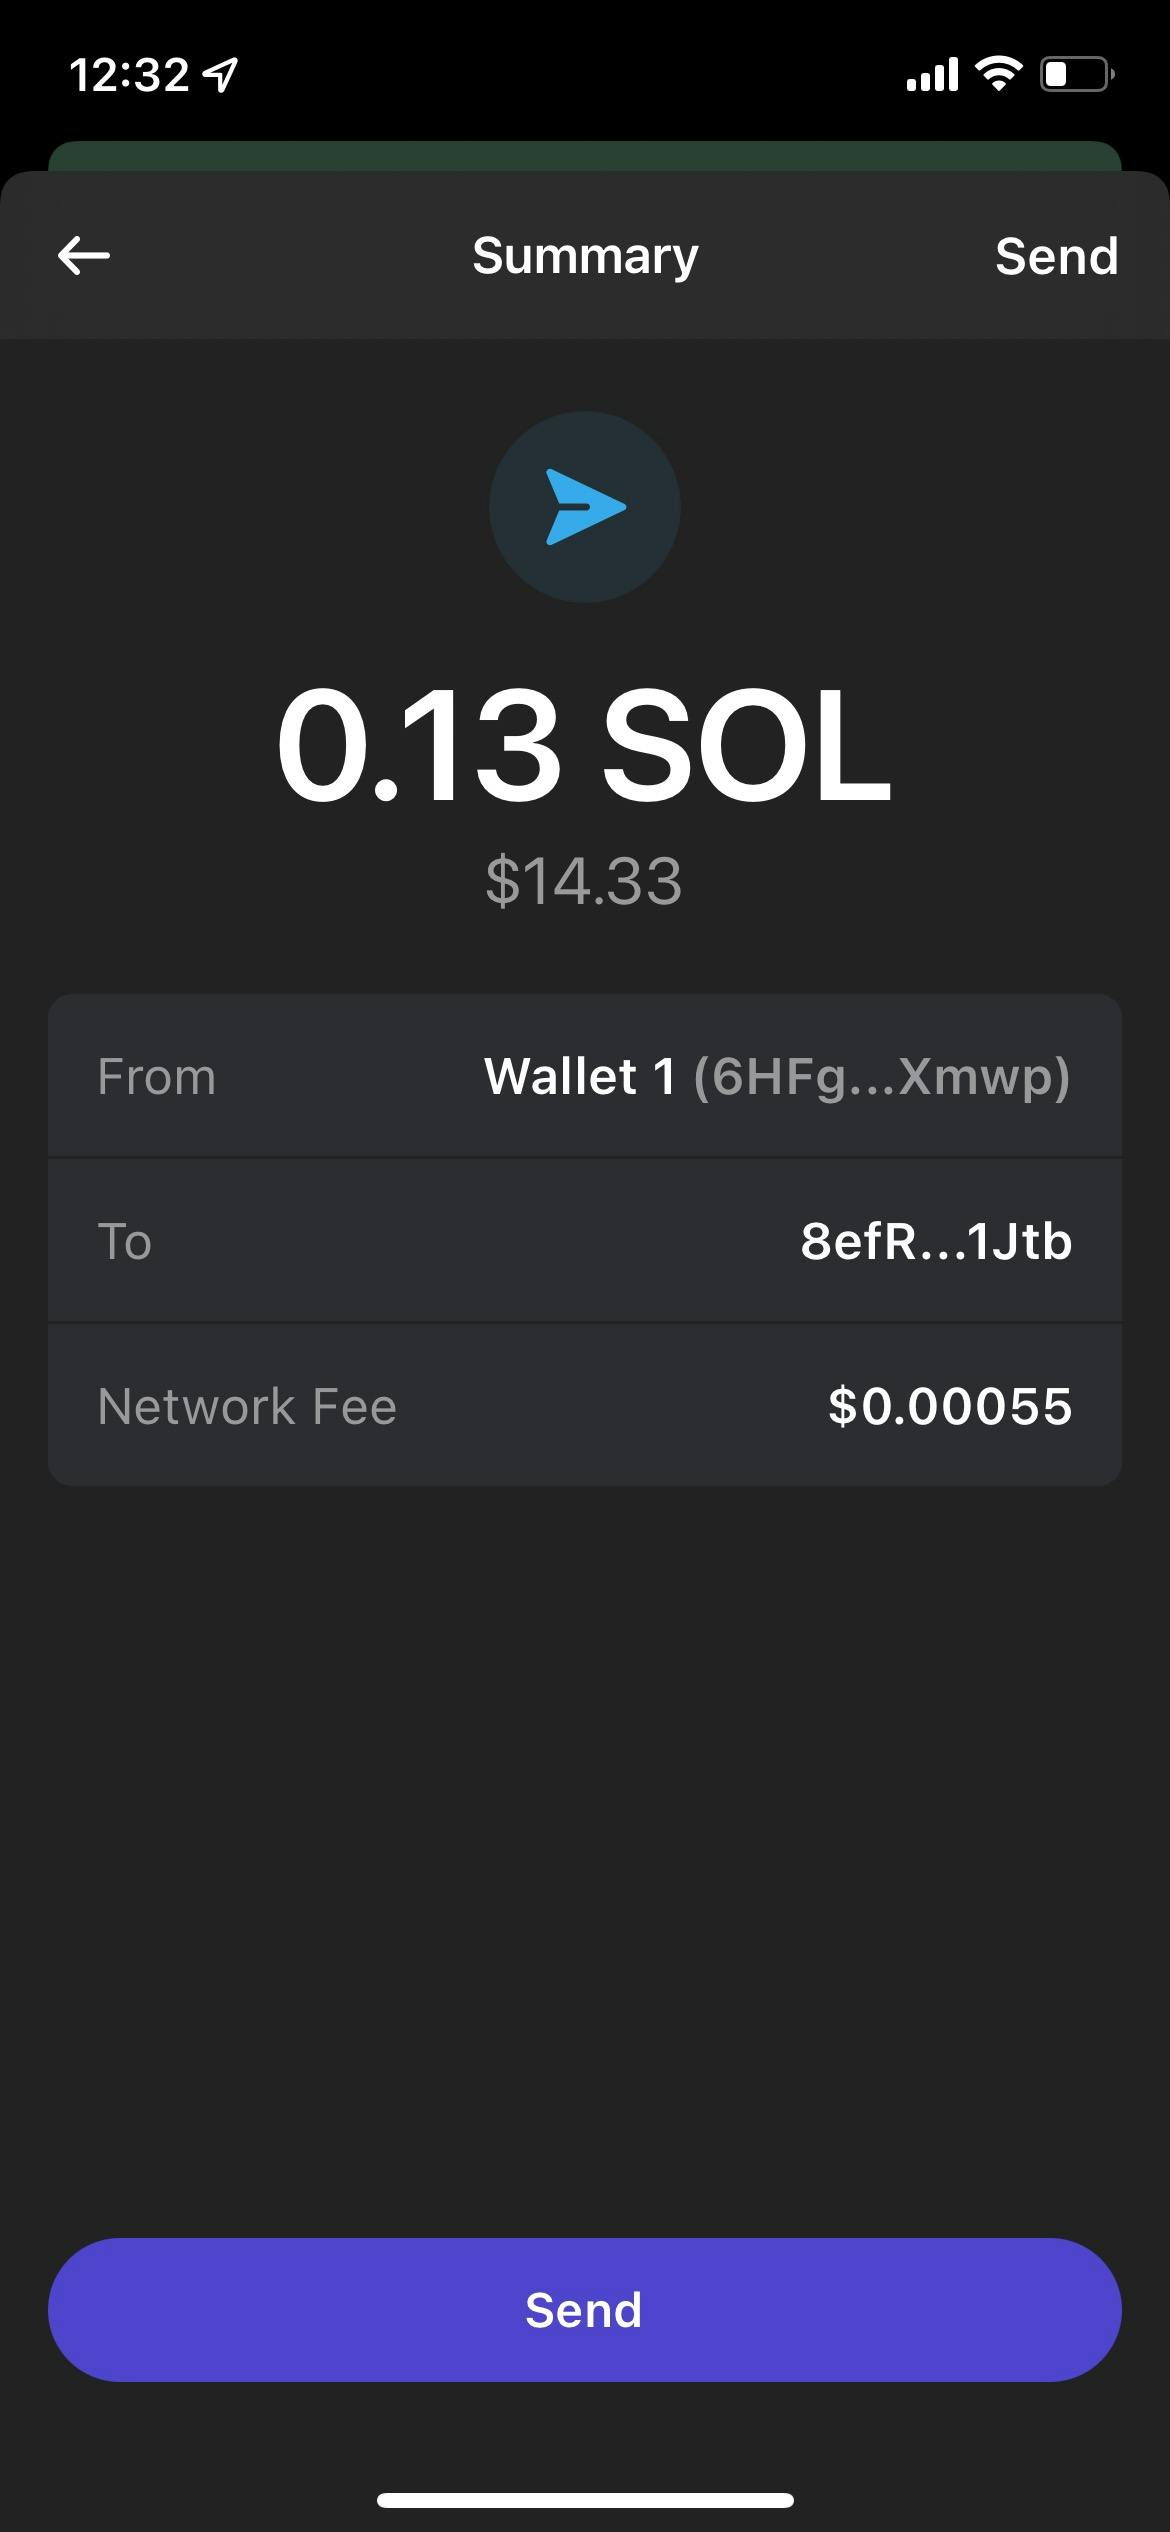
In a few seconds, your transaction will be confirmed on both the PoS and in your Phantom wallet! You’ve successfully sent your first transaction using Solana Pay!
Stay tuned for updates on how to customize and deploy your Solana Pay PoS app!